1973 JDX4 renovation
-
- Posts: 16
- Joined: Wed Dec 24, 2008 1:00 am
- Location: Racine, WI
1973 JDX4 renovation
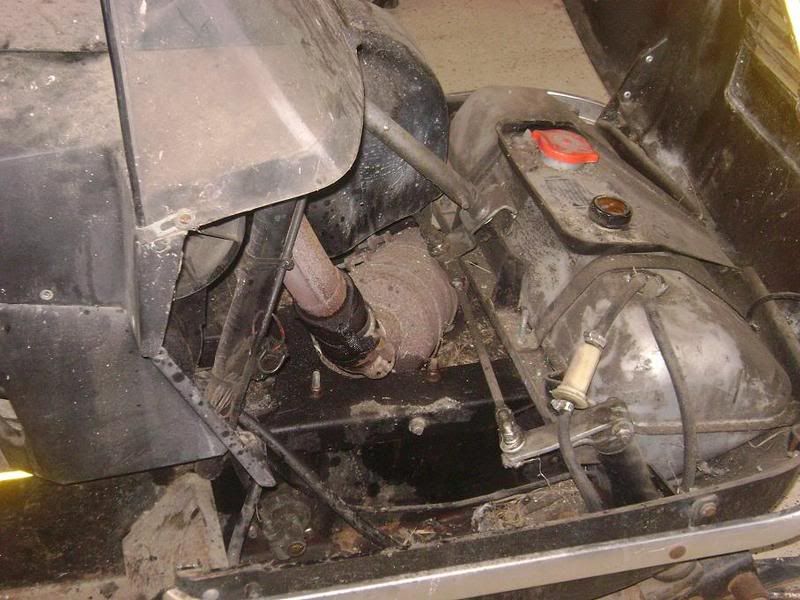
A guy at work gave it to me for FREE. Very rusty and covered in barn dust (smelled like poop), but pretty much "complete" and not all beat to hell. I used the oven cleaner and nuts n bolts trick on the gas tank. WOW....
:eek: the nasty stuff that came out was unbelievable.
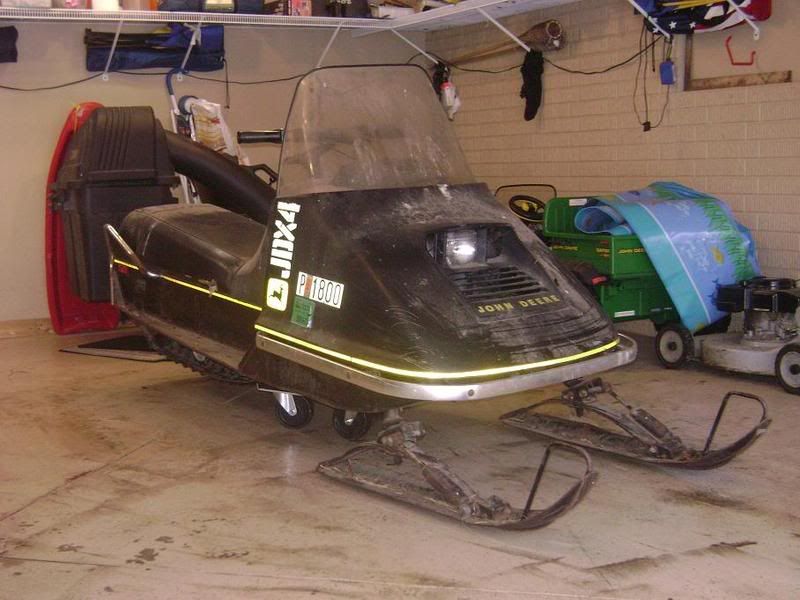
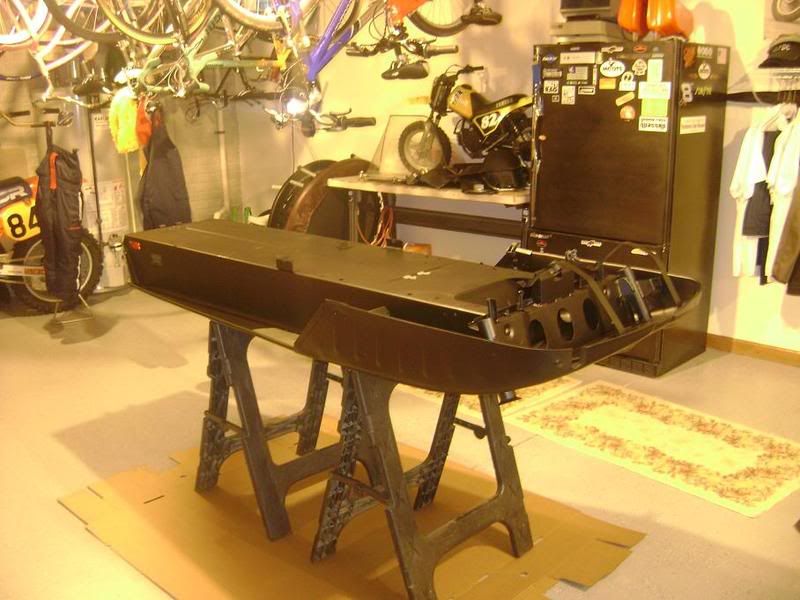
IN PROCESS: here is the tunnel/belly pan after painting with JD Blitz Black paint. I had to knock out a bunch of dents from the belly pan, since this machine apparently had hit every hidden boulder in the upper midwest...
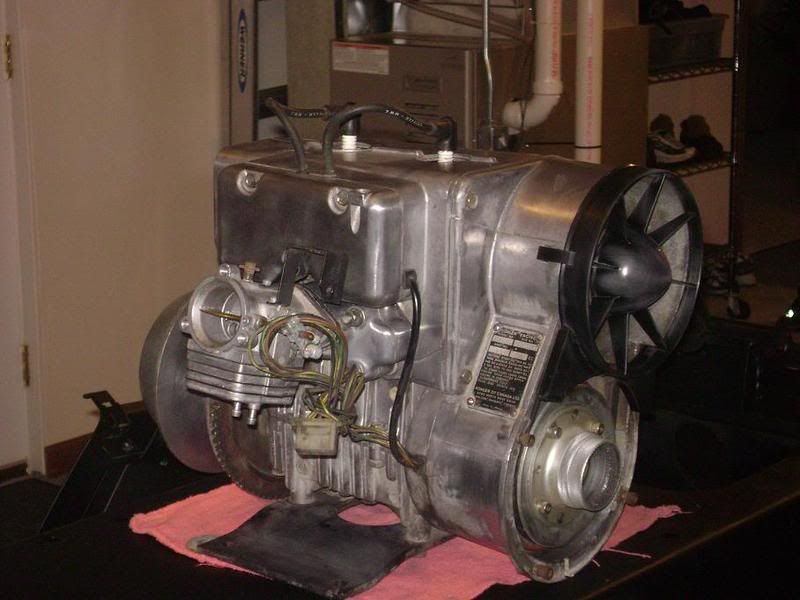
The engine: had a stuck ring (too much carbon bulidup). otherwise it was fine. Didnt even need new rings. Honed the cylinders and put it back together. Shined up the exterior with a 3M scotchbrite wheel. Just over 2100 miles on the ODO, but the speedo key was twisted off (its fixed now), so who knows what the real mileage is.
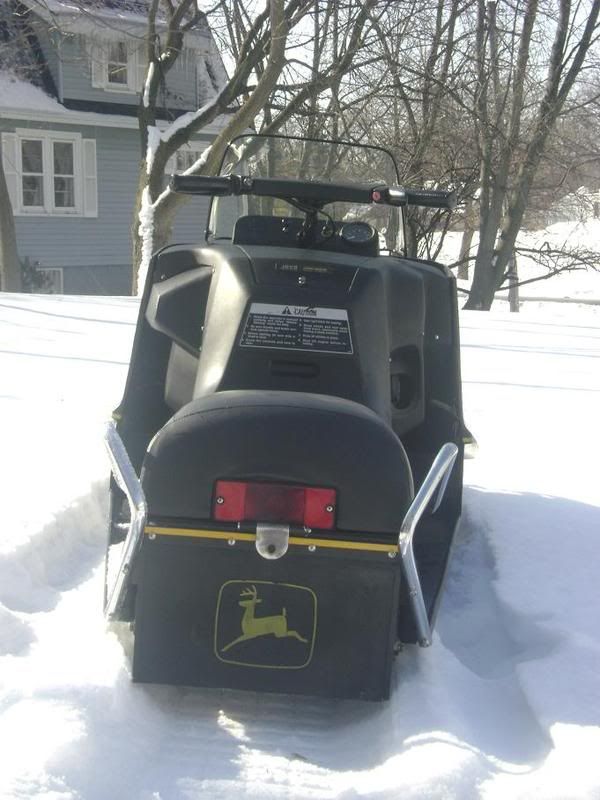
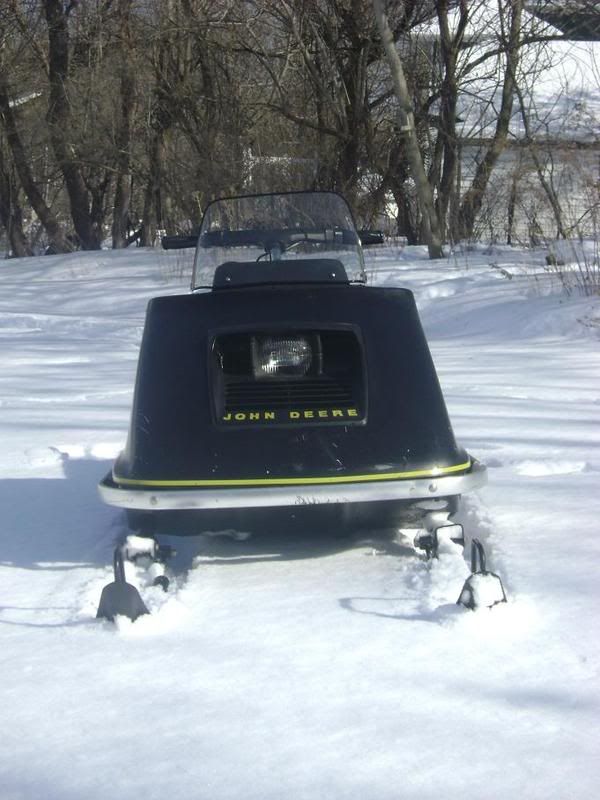
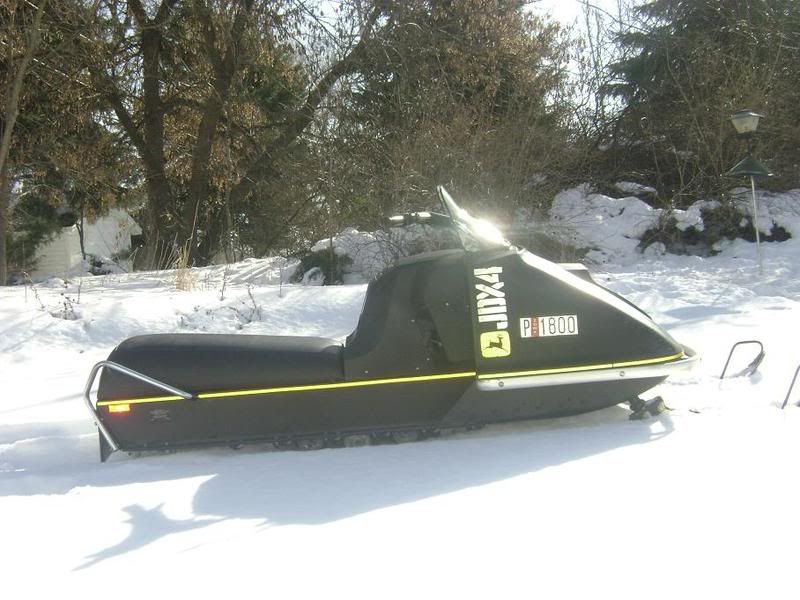
and the finished product:
This JDX4 had the fabulous "options" of the handlebar pad and the little shock absorbers on the skis.
Everything works except the brake light (the little pin switch behind the brake lever is stuck for some reason).
On the hood is a little red Iowa registration sticker that says "EXPIRES 12-31-74" on it. I left that on there because I thought it was sorta neat.
I have about 500 bucks in it. Paint, seat cover, a couple NOS windsheilds, a LOT of new bolts, tunnel striping, and some other things I cant remember right now.
I'm using Honda HP2 synthetic premix at 44:1 and 89 octane pump gas. I'd like to add that Walbro carbs are some really WEIRD devices (I'm used to Keihins and Mikunis on MX bikes....).
Seems to lose its prime when it sits. Not sure why. It has new fuel lines, new filter, and a new little backflow-preventer doo-dad in the tank. Is it normal to have to squeeze the primer bulb a few times whenever you want to start it?
:eek: the nasty stuff that came out was unbelievable.
IN PROCESS: here is the tunnel/belly pan after painting with JD Blitz Black paint. I had to knock out a bunch of dents from the belly pan, since this machine apparently had hit every hidden boulder in the upper midwest...
The engine: had a stuck ring (too much carbon bulidup). otherwise it was fine. Didnt even need new rings. Honed the cylinders and put it back together. Shined up the exterior with a 3M scotchbrite wheel. Just over 2100 miles on the ODO, but the speedo key was twisted off (its fixed now), so who knows what the real mileage is.
and the finished product:
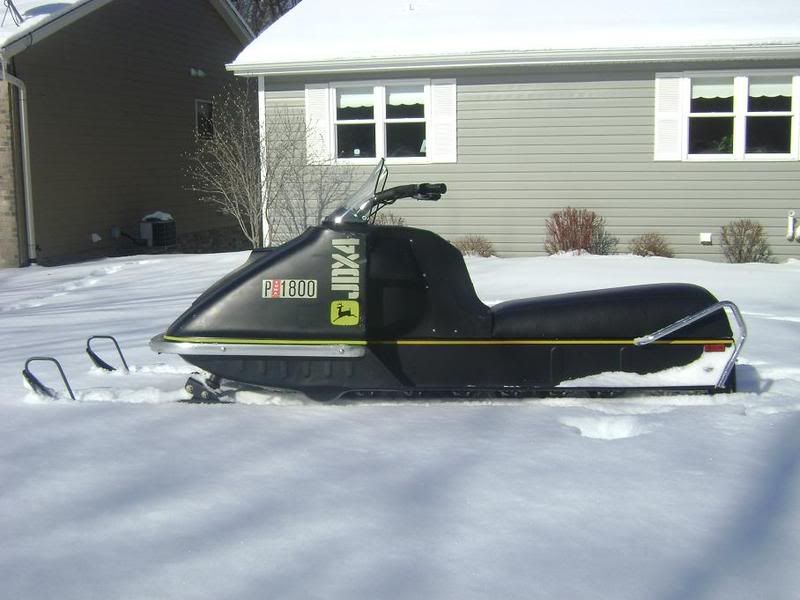
This JDX4 had the fabulous "options" of the handlebar pad and the little shock absorbers on the skis.
Everything works except the brake light (the little pin switch behind the brake lever is stuck for some reason).
On the hood is a little red Iowa registration sticker that says "EXPIRES 12-31-74" on it. I left that on there because I thought it was sorta neat.
I have about 500 bucks in it. Paint, seat cover, a couple NOS windsheilds, a LOT of new bolts, tunnel striping, and some other things I cant remember right now.
I'm using Honda HP2 synthetic premix at 44:1 and 89 octane pump gas. I'd like to add that Walbro carbs are some really WEIRD devices (I'm used to Keihins and Mikunis on MX bikes....).
Seems to lose its prime when it sits. Not sure why. It has new fuel lines, new filter, and a new little backflow-preventer doo-dad in the tank. Is it normal to have to squeeze the primer bulb a few times whenever you want to start it?
Last edited by Dakota Boy on Sat Jan 31, 2009 9:02 pm, edited 1 time in total.
1973 JDX4 renovation
Those little in the tank doo dads are not as good as they used to be.
I bought 10 last spring and half of them did not check.
I suppose they figured that no body is using them on diaphram carbs any more so they let that part slip by.
Sure looks good sitting on the snow.
I bought 10 last spring and half of them did not check.
I suppose they figured that no body is using them on diaphram carbs any more so they let that part slip by.
Sure looks good sitting on the snow.
Todd Schrupp
Milbank SD
Milbank SD
1973 JDX4 renovation
Looks nice!!!!! Want to do my 74 JDX6 and 74 JDX8 for me??? I am in Burlington, I see you are in Racine. Not far away. Maybe give me some pointers on how to do stuff.
Will
Will
1974 JDX6, 1974 JDX8
1973 JDX4 renovation
You did a wonderful job. To add to what Todd has said about the check valves. Ive found these replacments are only working if they are straight up and down. You need to have the fuel line length just right so it sits just off the bottom of the tank. If the lines long and the valve is sitting in there sideways it wont check. Setting it up this way prevents you from getting to use the full capacity of the gas tank but it will get the valve to work.
-
- Posts: 377
- Joined: Tue Feb 07, 2006 1:00 am
- Location: Thief River Falls, Mn
- Contact:
1973 JDX4 renovation
Great job! The check valve on my 400 does the same thing.
-
- Posts: 16
- Joined: Wed Dec 24, 2008 1:00 am
- Location: Racine, WI
1973 JDX4 renovation
Yeah.... my fuel line might be a tad too long, but that dang blue fuel line from Parts Unlimited also seemed to be permanently "coiled" when I was installing it. so that isnt helping matters either. I'll have to check and see if it has straightened itself out inside the tank.
-
- Posts: 16
- Joined: Wed Dec 24, 2008 1:00 am
- Location: Racine, WI
1973 JDX4 renovation
Will_jdx,
If you are in Burlington, then you have easy access to the John Deere paint.... It took me 7-8 cans of primer and just over 6 cans of the blitz black. It's some really good stuff, just be sure to let your painted parts "cure" for a week at room temp. so it isnt too "soft" when you're assembling things. And DONT SPILL ANY solvents or GAS on it for the first month either.... it'll take the paint off and you'll be left standing there swearing like a truck driver (my apologies to all you truck drivers out there).
As far as prepping the surface, an angle grinder and wire wheel worked good on the tunnel. The tiny brackets that hold the bogie wheel arms to the tunnel I had powdercoated (but dont powdercoat the springs cuz it'll crack off, just spray-can those).
For small parts, I also used a bench grinder which had a wire wheel on one side. Wear a particle mask... the rust dust will be flying EVERYWHERE. Then spray the parts with contact cleaner prior to painting (leaves the metal free of any oils, etc.)
If a guy had access to a bead-blaster, this would be way better than wire-wheeling. If your tunnel/belly pan has some rust, you may not want to bead-blast it or it could end up looking like swiss cheese in some areas...
Where the tunnel striping goes, I would buff the old paint and rust down a bit more with a flap wheel, so you have a super-smooth surface for the stripe to stick to.
Lee's Hardware in Racine has an entire aisle of loose bolts and fasteners you can buy by the piece. Amazing selection... they even have the proper "well-nuts" for the windshield mounts. Any place I had bolts snapping off or that were so rusty I had to grind them off, I used STAINLESS fasteners in those areas.
My exhaust silencer had a rusty hole in the bottom near the belly pan that I fixed with JB Weld, then painted over it with header paint. Nobody will even know its there (except you guys on this site now).
And its amazing what simply doing a detailed cleaning of the clutches and adding a new belt will do to improve that end of things
Yeah, rings are cheap, but my end-gaps were still good, so I just left 'em alone. Wiseco has a formula for determining proper ring end-gaps based on bore size. The wife was giving me the evil eye cuz the UPS guy was showing up at the door too often as it was..... you all know about that scenario I'm sure.
Last edited by Dakota Boy on Sun Feb 01, 2009 11:07 am, edited 1 time in total.
-
- Posts: 16
- Joined: Wed Dec 24, 2008 1:00 am
- Location: Racine, WI
1973 JDX4 renovation
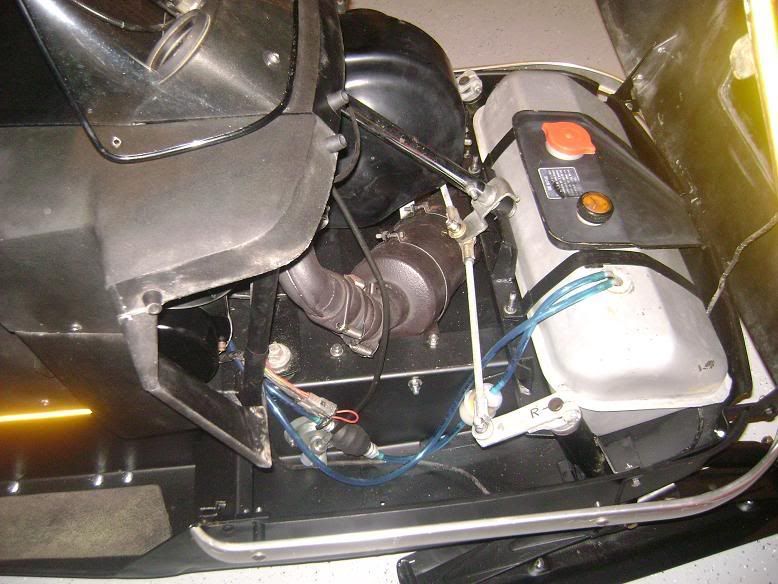
I forgot to add the photo of under the hood:
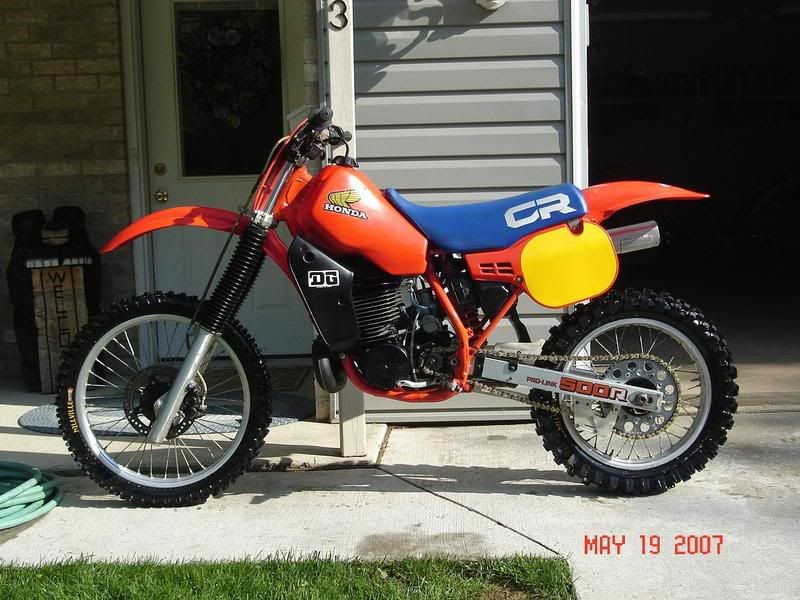
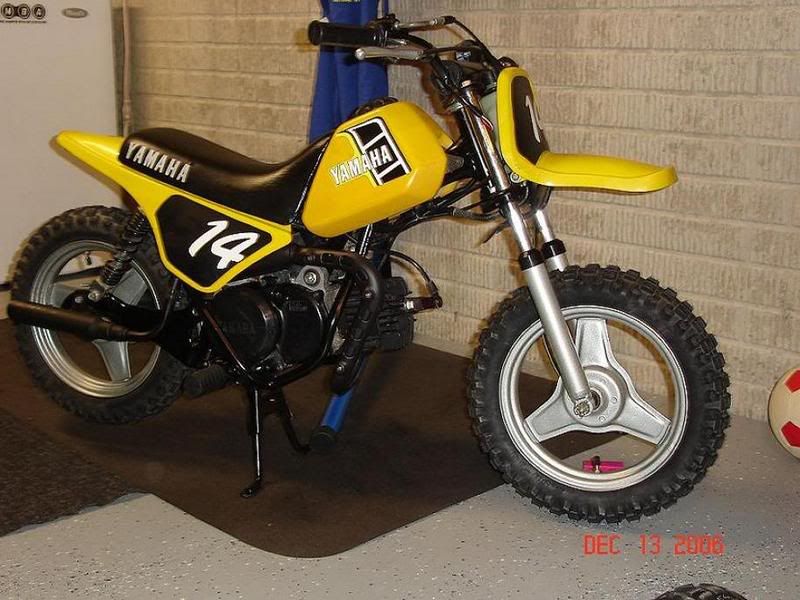
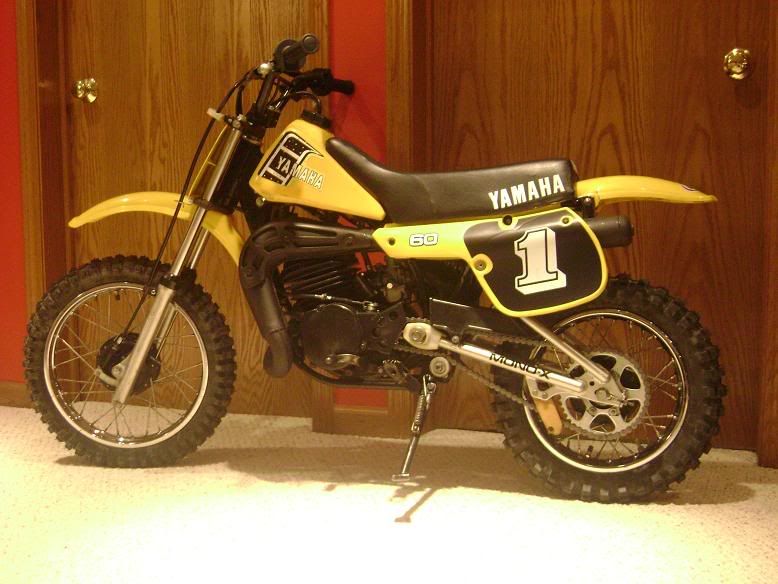
This was my first snowmobile project. I have done several old MX bikes. The Honda is an '84 and the Yamahas are both '82s. The little Yamaha 60 is as rare as chicken's teeth; only made from '81 to '83.
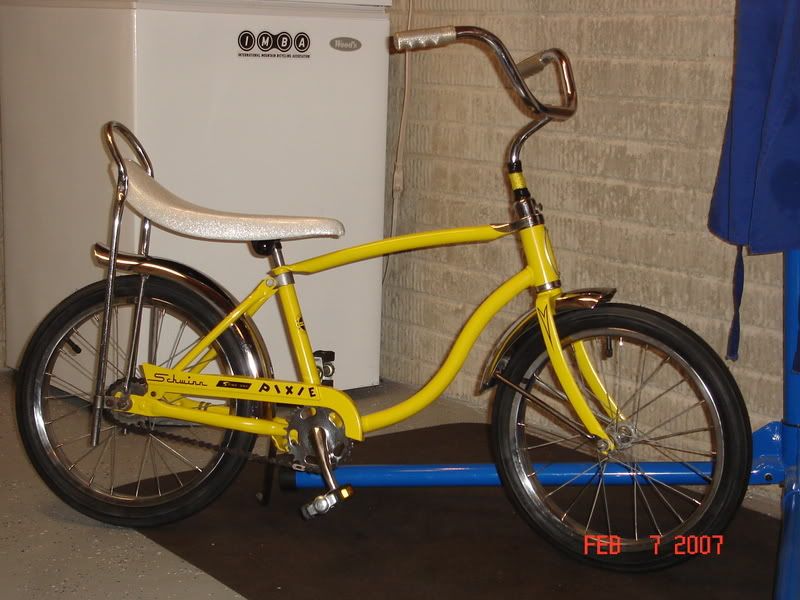
I also have the '71 Schwinn Pixie Sting-Ray that a bunch of us kids all rode way back-in-the-day. It was in my uncle's barn in pretty rough shape.
Last edited by Dakota Boy on Sun Feb 01, 2009 11:34 am, edited 1 time in total.
1973 JDX4 renovation
Dakota Boy, sure looks nice. Yours has a steel tunnel if I remember right? Mine are aluminum. I have to find out what is the best primer for aluminum. Yep, the Deere dealer knows me well. I have priced out the Blitz black paint. Not badly priced. Have worked on other things, but never a sled. This is my baby.
Will
Attachments:
Will
Attachments:
Last edited by Will_jdx on Sun Feb 01, 2009 7:49 pm, edited 1 time in total.
1974 JDX6, 1974 JDX8
-
- Posts: 16
- Joined: Wed Dec 24, 2008 1:00 am
- Location: Racine, WI
1973 JDX4 renovation
yes, the 73 JDX4 was all steel. I think the '73 JDX8 had aluminum tunnels. Seems the "8" was the cadillac of the bunch back then, with the "4" being the chevette.
Nice tractor you have there. I have a 7-yr. old who loves all things John Deere. We go to that old tractor show in Union Grove every Fall. My dad (in South Dakota) has 4 Case tractors from the 40's, but hasnt done anything with them, mainly because he isnt "retired" from the farm yet.
-
- Posts: 561
- Joined: Wed Mar 12, 2008 12:00 am
- Real Name: Jerry Zebro
- Location: Ridgeland WI
1973 JDX4 renovation
Nice Job on the Sled! and Nice Tractor too. I got a 1927 McCormick Deering 10-20 on Steel that I have been working on restoring for the past copuple of years.
Jerry
Jerry
Old sleds are hours of entertainment.... then you get to ride them for a little bit.
1973 JDX4 renovation
Dakota Boy, I belong to the club in Union Grove. That tractor has been there for the last 4 years. Pulled it every year, but this year. RAIN RAIN RAIN!!! Usually have our restored Case thresher out there running. My brother-in-law has Case tractors. We have like 15 antique tractors that we play with. Hope to see you there this year.Dakota Boy wrote:yes, the 73 JDX4 was all steel. I think the '73 JDX8 had aluminum tunnels. Seems the "8" was the cadillac of the bunch back then, with the "4" being the chevette.
Nice tractor you have there. I have a 7-yr. old who loves all things John Deere. We go to that old tractor show in Union Grove every Fall. My dad (in South Dakota) has 4 Case tractors from the 40's, but hasnt done anything with them, mainly because he isnt "retired" from the farm yet.
And Cabindweller, nice tractor too. I respect all color tractors.
Will
1974 JDX6, 1974 JDX8